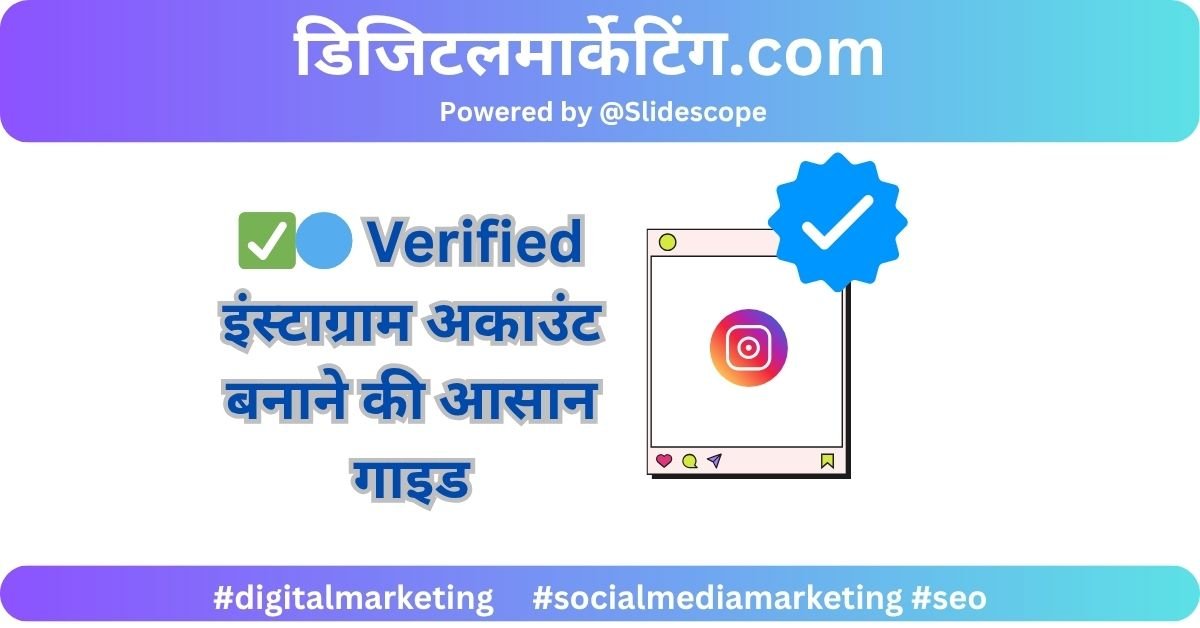
✅🔵 Verified इंस्टाग्राम अकाउंट बनाने की आसान गाइड
(एक डिजिटल मार्केटिंग टीचर के अनुभव से – जिसने 100+ स्टूडेंट्स को प्लेसमेंट और बिज़नेस में मदद की)
आजकल Instagram पर blue tick यानी verified badge पाना ना सिर्फ एक prestige symbol है, बल्कि आपके personal brand, business trust aur influencer value को भी बहुत ज़्यादा बढ़ा देता है।
मैं एक डिजिटल मार्केटिंग ट्रेनर हूं और अब तक 100+ स्टूडेंट्स को Instagram Branding, Influencer Marketing और Client Projects में guide कर चुका हूं। इस अनुभव से मैंने देखा है कि verified badge पाने का प्रोसेस बहुत आसान हो सकता है – अगर आप सही steps को follow करें।
🔍 सबसे पहले समझें – Verification होता क्या है?
Instagram verification का मतलब है कि:
“Yes, ये account असली है और जिस इंसान, ब्रांड या बिज़नेस का नाम लिखा है, उसी से जुड़ा है।”
Blue tick मिलने से:
- Brand trust बढ़ता है
- Fake accounts से बचाव होता है
- ज्यादा engagement आता है
- Collaboration के मौके मिलते हैं
🪜 Step-by-Step गाइड: कैसे पाएं Instagram Verification
✅ 1️⃣ Strong Identity बनाएं (अकाउंट प्रोफेशनल दिखना चाहिए)
- Profile photo clear और real हो
- Username unique हो
- Bio में profession, work और link ज़रूर दें
- Public account रखें
- Minimum 1–2 highlight sections add करें
👨🏫 मेरे स्टूडेंट्स ने एक strong brand image बनाकर ही verification का पहला step clear किया।
📰 2️⃣ खुद की online presence बनाएं – Google पर नाम आए
Instagram उस account को verify करता है जिसे लोग online search करते हैं।
क्या करें:
- अपने नाम से press release, blogs या news articles publish कराएं
- अपनी वेबसाइट पर bio और social links add करें
- YouTube, Facebook, LinkedIn जैसे platforms पर same नाम से consistent presence बनाएं
हमने कई students को PR websites और guest blogging से digital proof create करवाया
📸 3️⃣ High-Quality Content consistently post करें
- Profession से जुड़ा content डालें (reels, carousel, stories)
- Trending hashtags और location tagging करें
- 3–6 महीने तक regular activity बहुत जरूरी है
💡 Tip: Meme या remix content से ज्यादा आपका original content impactful होता है verification के लिए।
🔗 4️⃣ Follower count ज़रूरी नहीं, Engagement मायने रखता है
- Follower चाहे 5K हों या 50K, अगर आपका content genuine है और लोग interact कर रहे हैं (likes, comments, shares) – तो verification possible है
📝 5️⃣ Instagram पर Verification के लिए Apply कैसे करें?
- Instagram App खोलें
- Menu (≡) → Settings & Privacy → Account → Request Verification
- Form भरें:
- Username
- Full Name
- Known As
- Category (जैसे: Educator, Journalist, Artist, Business, etc.)
- Govt. ID upload करें (PAN, Aadhar, Passport)
⏳ Review में 1–30 दिन लग सकते हैं। Rejection की स्थिति में 30 दिन बाद फिर से apply कर सकते हैं।
📌 6️⃣ Fake तरीकों से बचें!
❌ Paid verification (जो blue tick बेचने का दावा करें) से दूर रहें
❌ Fake followers, bots और engagement खरीदना आपकी profile को नुकसान पहुंचा सकता है
🎓 Teacher’s Pro Tip:
मैंने अपने कुछ स्टूडेंट्स को पहले personal branding सिखाई – फिर उनके नाम से blog/news features करवाए – उसके बाद उन्होंने apply किया और within 2 months verified हो गए।
Verification एक process है – shortcut नहीं।
📈 निष्कर्ष: Verified बनने का असली मंत्र
✅ साफ़-सुथरी profile
✅ Strong identity और online presence
✅ Real content और engagement
✅ Patience और सही approach
अगर आप एक educator, creator, doctor, artist, या लोकल बिज़नेस ओनर हैं – तो यह आपके लिए एक strong brand-building tool बन सकता है।
अगर आप चाहें तो मैं इसका PDF Guide, Canva Post Template, या Verification Coaching Call Plan भी बना सकता हूं – बताइए! 🚀